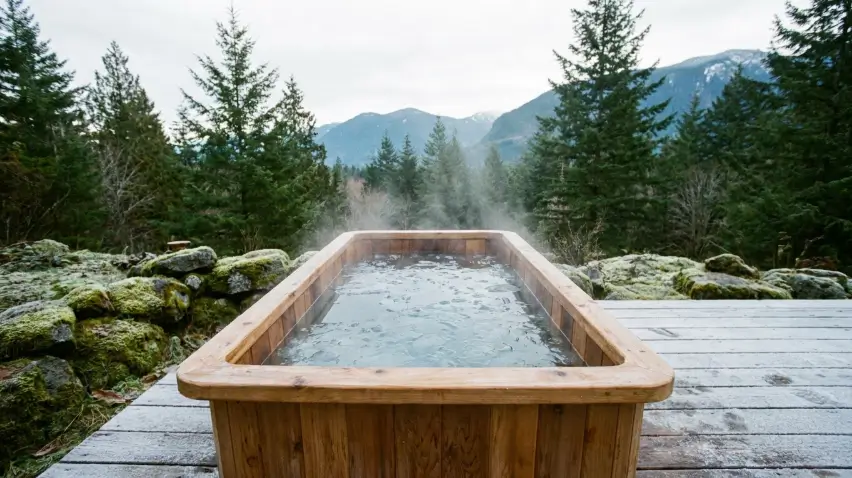
For most small-space setups, a hybrid approach works best: DIY the assembly, leveling, and filling, but hire a licensed electrician for the dedicated circuit and, if drainage runs to an existing line, a plumber for that connection. Full DIY is realistic when the spot is already level, already has power nearby, and the chiller’s clearance requirements fit the footprint without modification. Full professional install makes more sense when any of those three things is missing, which is common in a garage bay, mudroom corner, or covered balcony where power and drainage weren’t originally planned around a 100-plus gallon tub running daily.
What Does a DIY Cold Plunge Install Actually Involve?
At the basic end, DIY means unboxing the tub, setting it on a prepared, level surface rated for the combined weight of the shell, water, and occupant, connecting the chiller and filter per the manufacturer’s instructions, and filling it. For a two-person plunge, that combined weight can run over 1,000 pounds full, which matters more on a wood deck or an upper-floor balcony than it does on a poured concrete slab. Most manufacturer instructions are written for this level of DIY and assume a reasonably handy owner can complete it in an afternoon, provided the site itself doesn’t need extra work first.
When Does a Small Space Make DIY Harder Than It Looks?
The gap between an easy DIY job and a frustrating one usually comes down to how much the space needs to be adapted rather than simply used as-is. In an open yard, a chiller placed a little too close to a wall is a minor inconvenience. In a garage bay or closet-sized utility nook, the same placement can restrict the airflow the chiller needs, causing it to run hotter, cycle more, and wear out faster, sometimes without the owner realizing why service calls start early. Tight spaces also make it easier to underestimate clearance needed for maintenance access, like pulling a filter cartridge or reaching a drain valve, which a floor plan sketch before installation day can catch before it becomes a recurring annoyance.
What Parts of the Install Should Always Go to a Professional?
Electrical work is the clearest line. A cold plunge chiller needs a dedicated, ground-fault-protected circuit, and running one off an extension cord or a shared outlet near standing water is a genuine hazard, not a minor code technicality. In a small space where the equipment sits closer to the tub and to walls than in an open yard, a licensed electrician can also confirm the circuit’s placement doesn’t violate the manufacturer’s clearance requirements, which some DIY installs miss simply because there’s less room to work with. If drainage runs to an existing plumbing line rather than a simple hose-out setup, that connection is also worth a plumber’s time, particularly in a converted space like a garage or basement corner not originally built around a water feature.
How Much Does Professional Install Typically Add to the Budget?
Electrical work for a dedicated GFCI circuit commonly runs a few hundred dollars if power already exists nearby, more if a new run has to be pulled from the panel. A full professional setup, including site leveling, electrical, and drainage, can add several hundred to a bit over a thousand dollars depending on how far the equipment sits from existing utilities and how much site prep the space needs. That’s a real cost, but it’s usually smaller than the cost of a failed chiller or a tripped breaker caused by an under-built circuit discovered after the fact. Owners comparing a compact two-person tub’s total installed cost, not just its sticker price, before committing to a small-space spot can check sweatdecks.com for what a specific model’s power and clearance requirements actually call for.
What Does a Realistic Small-Space Install Timeline Look Like?
Start with the site, not the tub. Confirm the floor or deck can bear the full weight, measure clearance around where the chiller will sit against a wall, and locate the nearest power source before ordering anything. Next, schedule the electrician for the dedicated circuit, since this step often has the longest lead time and should happen before the tub arrives, not after. Once power is ready, DIY assembly, leveling, and filling can usually happen in a single day. Budget a separate day or two of buffer for a small-space install specifically, since fitting equipment into a tighter footprint tends to turn up small adjustments, like reorienting the chiller or shortening a hose run, that an open-yard install rarely needs.
What Tools and Prep Does the DIY Portion Actually Need?
Beyond the tub kit itself, a basic DIY install calls for a level, a tape measure, a wrench set for fittings, and whatever ground preparation the surface needs, which can range from a simple sweep and inspect on existing concrete to laying interlocking pavers or a composite pad in a garage bay that wasn’t built with a water feature in mind. Reading the manufacturer’s clearance diagram before moving anything into place saves rework later, since it’s much easier to confirm a spot works on paper than to discover after the tub is full that the chiller sits two inches short of its required airflow gap. A helper for lifting and positioning the empty shell is worth arranging in advance too, since most tubs are awkward rather than heavy before they’re filled, and a tight doorway or hallway in a small-space install can turn a two-person job into a frustrating one-person struggle.
Keep the manufacturer’s documentation and any receipts from the install, including photos of the electrical hookup and chiller clearance, in a folder somewhere durable rather than scattered across emails. This matters twice: once for warranty claims if something needs service, and again if the property is ever sold and a buyer’s inspector asks how the water feature was wired and drained. A small-space install that was done thoughtfully, even if partly DIY, should be easy to explain and document later, and that documentation is cheap insurance against a dispute nobody wants to have months or years down the line.
Frequently Asked Questions
Can a beginner install a cold plunge without hiring anyone?
Basic assembly and filling is realistic for most owners. The electrical circuit and, in a tight footprint, floor load are the parts that most often need a professional.
What makes a small space harder to DIY than an open yard?
Less room for error. A chiller placed too close to a wall can restrict airflow enough to shorten equipment life in a garage bay or closet-sized nook.
Does a cold plunge need a permit for a small-space install?
Often yes for the electrical circuit, depending on the jurisdiction. Check with the local building department before starting.
How much does professional installation typically add to the cost?
Electrical work often runs a few hundred dollars; a full professional setup can add several hundred to a bit over a thousand.
What should never be a DIY shortcut in a tight footprint?
The electrical circuit and ground-fault protection. Running a chiller off an extension cord near standing water is a real safety risk.
References
- “Effects of cold-water immersion on health and wellbeing: A systematic review and meta-analysis.” PLoS One, 2025. https://pubmed.ncbi.nlm.nih.gov/39879231/
- “Effects of cold water immersion after exercise on fatigue recovery and exercise performance: meta analysis.” Frontiers in Physiology, 2023. https://pubmed.ncbi.nlm.nih.gov/36744038/
- “Cold-water immersion (cryotherapy) for preventing and treating muscle soreness after exercise.” Cochrane Database of Systematic Reviews, 2012. https://pubmed.ncbi.nlm.nih.gov/22336838/
By Priya Anand